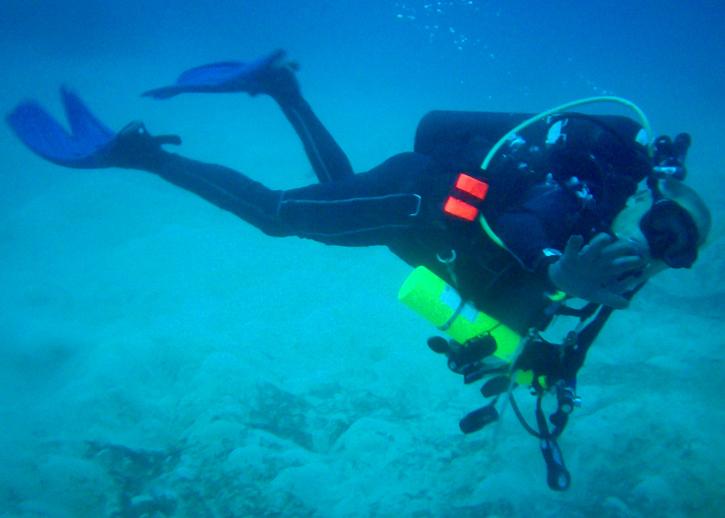
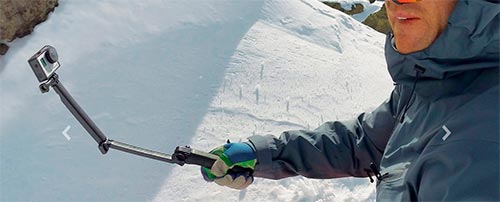
And so it happened! As I was ascending from my final dive in Guam, I saw salt water inside the waterproof housing of my gopro camera!!! But after some water damage control on the GoPro, it still works! How did I do it? Read on…
*Dozens Of Helpful And Inspirational Comments Made By Gopro Users
Steps On What To Do When Your GoPro Camera Gets Soaked!
1. Take the camera out of the housing.
2. Take out the battery and SD card (VERY IMPORTANT!!! if you have any gopro extensions such as the LCD backpack, take that out too)
3. Soak the GoPro and other components that got wet (except the battery) in clean freshwater for 30 seconds to a minute to prevent corrosion inside. (do this step if soaked in seawater)
4. Drive out the water from the insides of the gopro by swinging it. (goal here is to use centripetal force to move water out through openings such as the sd card slot.)
5. Let it dry… Remember, there are many ways to dry… *I put my gopro inside a car on the dashboard for 3 hours during a hot day on it’s side with the SD card slot facing up so that the water would evaporate and steam would exit out of it. It was summer and it was pretty hot. Do not ever turn on your camera if you suspect there is water inside… you can fry the circuits inside!
(If the climate is pretty cold where you live I would recommend putting the GoPro in a tight sealed box with some silica packets for several days. The silica packets should absorb most of the moisture from the inside of the camera.) If you don’t have desiccants, try using rice or pasta as some have recommended in the comments below.
6. Take the camera out of the car and let it cool off in a dry place at room temperature and don’t touch it for 24 hours.
Because saltwater can cause severe corrosive damage to metallic components inside your camera, try to do the following above as soon as you can. Speed is the key. I rescued and soaked my camera approximately an hour after getting it wet in the ocean.
{adselite}
An Important Note About Wet GoPro Cameras
Although I think I was very lucky, this may not work for everyone. But if flooding occurs while you’re diving, surfing, or just doing anything in the water, you may try what I did with your own discretion. Remember, I won’t take any responsibility, I’m just sharing what I did so you could save your electrical devices if it ever gets wet especially with sea water! Plus I really like electronics so I like experimenting with them once they become spare parts!
Btw, remember to NEVER TURN ON YOUR CAMERA IF YOU SUSPECT THAT IT IS STILL WET! Give it time to dry.
(I’ve noticed some blog posts and videos out there copying my exact same methods that include changing words around and claiming it’s “their” method. It’s all good to spread the word but I would appreciate it if you give some credit to this blog which I dedicate a lot of effort to anyone interested in electrical gadgets including the GoPro camera! Please note the date of this post!)