As a climber and a photographer, one of the more important questions I get is what kind gear I bring to assure a successful and safe photo shoot while up on any mountain.
This blog will focus on my top 10 gear that I take whenever I go up a 2000 meter~ 3000 meter (6000 feet to 10,000 feet) mountain to take photographs during all seasons except winter. (The type of camera, lens, and tripod will be posted on another blog because you can’t just climb a mountain with only your camera!)
Note: I have over a hundred climbs and all of them have always been learning experiences on what to bring and not to bring so I hope this article aids any photographer interested in climbing up a mountain or going in the wild to take beautiful photographs.
My Essential Climbing Gear
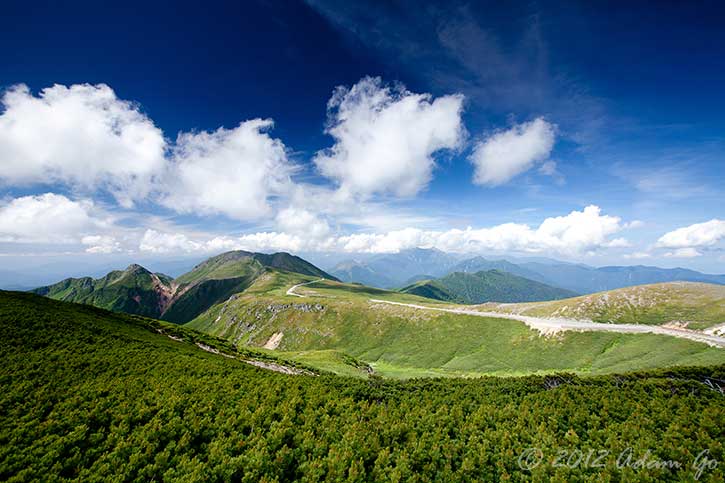
Always carry the essentials (water, protective clothing, shelter, map, and food.) and take more because you will never know what you can encounter in the wild. I try to limit the weight I carry depending on how long I’m out there. The longer I’m in the wild, the heavier I haul.
In my case, these are the essentials that I carry.
- 3L CamelBak Water Reservoir for water.
- A really good insulating jacket
- Rain/Wind Gear + 1 extra pair of socks and extra underwear
- 1 super lightweight moisture wicking t-shirt as a base-layer.
- Map and compass
- Small First Aid Kit (It has to be small)
- GPS
- Multi tool knife
- Shelter (a tent or a bivvy sack)
- Food
Water
Water is almost always the heaviest item that I carry besides my camera and tripod. I use a 3L CamelBak Water Reservoir for my hydration needs.
Remember that 3 liters in a camelbak thermal set is approximately 7 pounds.

Why a camelbak? From my experience, the camelbak is indestructible to falls and compression abuse. Just remember that the bladder, hose, quicklink, and mouthpiece is not invincible to extreme cold, knives, and other puncture related damages. More on this here!
Extra Water?
I will usually carry two extra 500ml water bottles if I know there will not be any water source in the location I go. You prepare by extensively studying the area. If there is a water source such as a river, lake, or stream that I see is drinkable, I carry less water and use a water filter or a sterilization device to treat my water.
An Emergency Kit
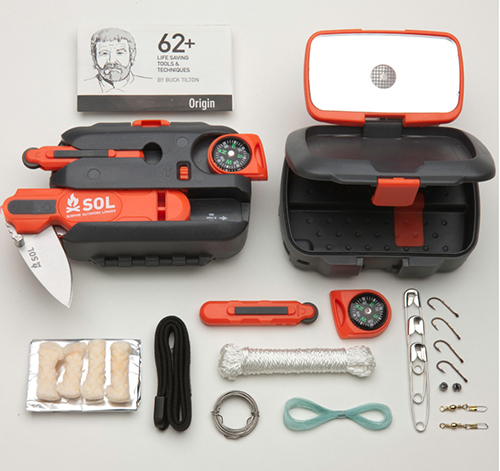
My emergency kit I have is so small, I take it everywhere because it is so tiny.
It contains a signalling mirror which can be seen from 20 miles away, a loud whistle, fishing gear, surgical knife, fire starter, and more.
One feature I like is the unbreakable waterproof case that keeps everything totally organized. Then again, if the price is too much, you can make your own kit.
Insulation Layer?
This is very important all year round! I always carry a fleece even during the hottest of summer days, because at high altitudes, the slightest change in weather can turn deadly during any season.
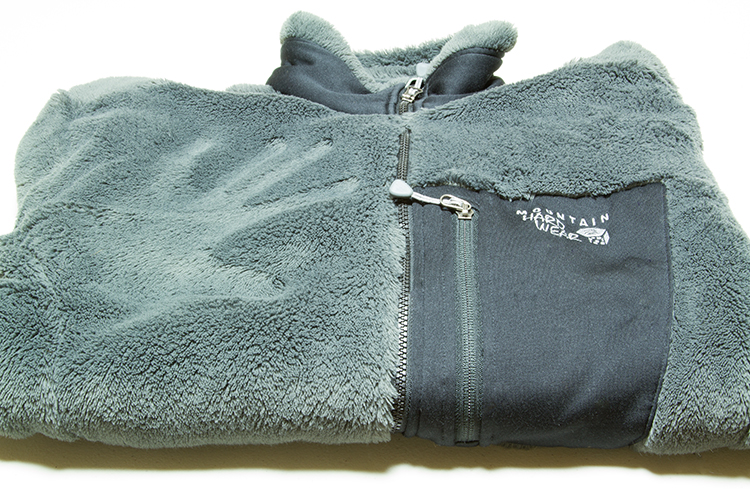
I wear the Monkey Man Fleece Jacket that uses the Polartec 300 material. Why? It’s lightweight, it’s toasty, and it feels really good! Plus, its compressible so it fits well in my pack or when wearing it under my Gore-tex Jacket.
Can you see my handprint on my jacket below? That’s how fluffy it is!
Insulation I don’t recommend?
Down Jackets are a no!
Why? They lose heat and take forever to dry when wet.
I would save your cash and just go with fleece because fleece is cheaper, dries faster, breathes better, and is more durable than down. The monkeyman is my preference because it feels good and is warm.
Just remember that even a good fleece jacket will lose heat when wet but the point is that it dries faster, which is a major advantage to me just in case you slip in a water hole or perspire gallons of sweat.
Rain Protection?
In any given situation on a mountain, you have to stay dry. When it starts to pour, I pull out my Gore-Tex Jacket and rain pants. Water resistant/proof pants are also essential because you will get cold when wet! I’ve seen guys go up with only rain jackets exposing their pants to the elements and they don’t make it!
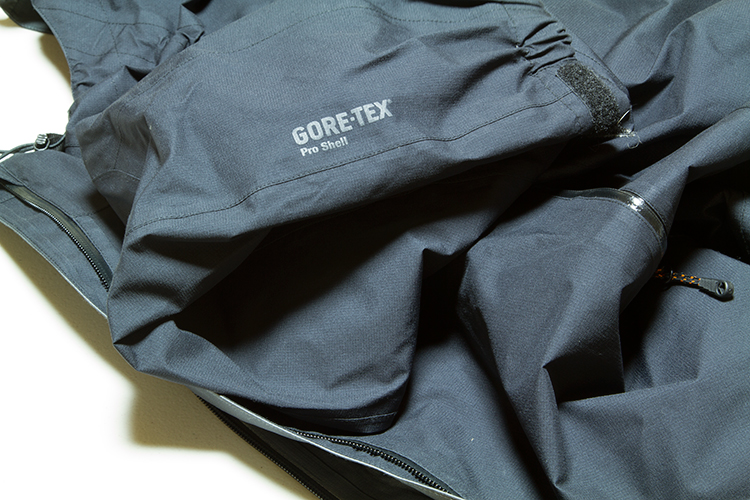
I use gore-tex material because it is durable and breathable. There are other materials out there that are similar to Gore-tex but I use it because the militay uses it.
Also note that the jacket shell and pants can also be used for wind protection. Your rain gear will be completed with waterproof boots.
Having dry and warm feet always feel good especially when you start getting cold! Trust me on this!
Wool Vs. Cotton?
Always go with wool. My Lightweight Merino wool socks and other garments never contain cotton because cotton takes too long to dry and it doesn’t retain heat like wool. One of the main advantages of wool that I like besides warmth is that it wicks away moisture and sweat. If you hate wool, go with polyester.
T-shirts (base layers) should also not be cotton. Mine is usually made of polyester and a bit of spandex.
A Map
I always bring a map of the area I climb all the time. The map should include a directional reference, a scale, a date, and a legend marking points of interest.
Directional reference help you navigate with a compass.
A scale helps with measuring the actual distance needed to travel.
The date helps tell you if the map is current or not.
A legend on the map tells you of any point of interest such as location of hospitals, emergency huts, bridges, roads, rivers, etc.
A map is very essential in any climbing situation so this is something I never leave behind. You won’t believe how many climbers go out without a map of the area they climb! You need a map not just to navigate but to plan for alternatives. For example, a path may unexpectedly been flooded by a river nearby. Having a map in this situation helps show you if there are bridges in you area and other crossing points. Always bring a map just in case something doesn’t go according to plan.
I always carry two maps when I go out. One map is always on my body and another map is in my pack as a spare.
What Kind of Compass?
Any compass that points north works!

I carry three compasses in which my main one is a liquid filled Suunto A-10 Compass… it’s the cheapest that Suunto makes and I love it for its simplicity and lightweight.
The other compass is a small compass embedded on a cheap caribiner I use to carry my keys, and the last compass is on my First Aid Kit that is also another essential. I recommend that I linked because it has everything in a small waterproof case.
If you’re reading this blog from the southern hemisphere, make sure your compass is made for the southern hemisphere. If you use a compass made for the Northern Hemisphere in the southern hemisphere it’s most likely going to hang and give you inaccurate readings!!! You either tilt the compass or get a compass weighted properly for the southern hemisphere.
GPS
This is optional but I must admit that GPS makes life easier if you know how to use it.
Also note that due to the presence of GPS on smart phones, dedicated GPS device prices have dropped considerably where it’s actually worth buying one for fun!
For GPS, the etrex by Garmin is my favored one. Why? It records your location data at all times and 2 double A batteries can last you over 20 hours. If you carry 8 double A batteries, your set for 4 days!
Also, a GPS device can record your altitude, speed, and how long it took you to travel from point A to point B, which helps provide me with useful information on how long my trip of 25 km will take.
(For example if it takes me 1 hour to travel 2 KM, I can estimate that I can complete a 25 KM course in about 12.5 hours.)
I want to add that GPS pinpoints your exact location by several feet so you know exactly where you are.
GPS makes life convenient but you should never rely on it as your sole navigation device. I suggest that everyone learn how to navigate using a map and compass and then upgrade to GPS.
Also, using GPS on smartphones could help but they kill your phone’s batteries very quickly and are not as accurate as dedicated GPS devices.
A Multi-Tool
Any kind of multi-knife will do but I usually prefer one that has the following:
- Knife
- Screwdriver (flat and cross)
- Can opener
- Pliers
- Scissors
- Mini-Saw (difficult to use though)
My recommendation is the Leatherman Wingman as seen below. There is no saw… the saw, I carry as separate.
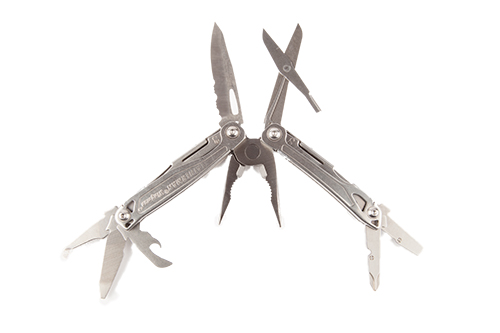
Surprisingly, I thought I will never use scissors in the wild but it actually came in handy for doing some first aid on an injured climber.
Shelter
For shelter, I usually use a light 4 season tent called the the North Face Mountain 25. I like using the tent because it also keeps my gear dry. In the summer, my tent will be too hot so I take advantage of its minimalist capablities by using just the fly and the poles to provide an airy well ventilated shelter.
If I want to go extremely light, I take a tarp or a bivy sack.
Here’s my dog invading the tent while I’m setting up.
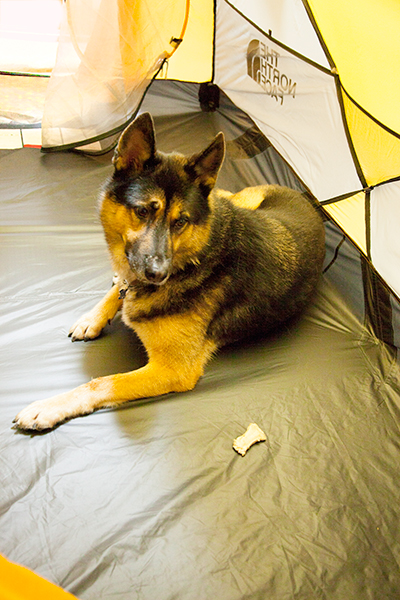 A review on this tent later…
FOOD?
Any kind of food that doesn’t require cooking… in other words power bars and MREs… Why? Saves time. However, if you want to cook something to eat and stay warm, I would recommend getting a Jetboil. It’s really fast convenient because it can boil water in about 2 minutes. I boil water in which I use to eat cup ramen or any kind of dehydrated food because starch and carbs always help when I’m tired up there!
Where to buy all this stuff?
It is quite an inconvenience to drive to a shop so I therefore recommend this awesome online outdoor goods site ! They offer free shipping and a lifetime warranty on all the goods they sell. No questions asked on any of the returns. That’s what I call guarantee… especially with expensive gear that your life may depend upon. Plus… when you order, they make an account for you so you can track all the gear you have and return.
Here are some blogs related to some of my climbs while doing some landscape photo work.
For more stuff just check out my blog.
